Setting up command line access to mastodon
I am not sure why the need suddenly dawned on me, but I thought, “wouldn’t it be awesome to be able to post to mastodon without having to go through the trouble of opening up the browser on my computer?”. As a result, I stumbled upon toot (yes, this is what posts on mastodon were originally known as). This amazing tool allows the user to both browse and post to the fediverse directly from the command line, via a simple and easy to remember command, toot.
Installing on mac was a piece of cake through homebrew, a tool that I will probably write about more in the future. Simply type brew install toot and the command will be available.
Logging in
To log in to your instance for the first time, simply call toot login. You will be asked to enter your instance url, such as “mastodon.social” or “fosstodon.org” and then authenticate through your account on the web.
Viewing posts
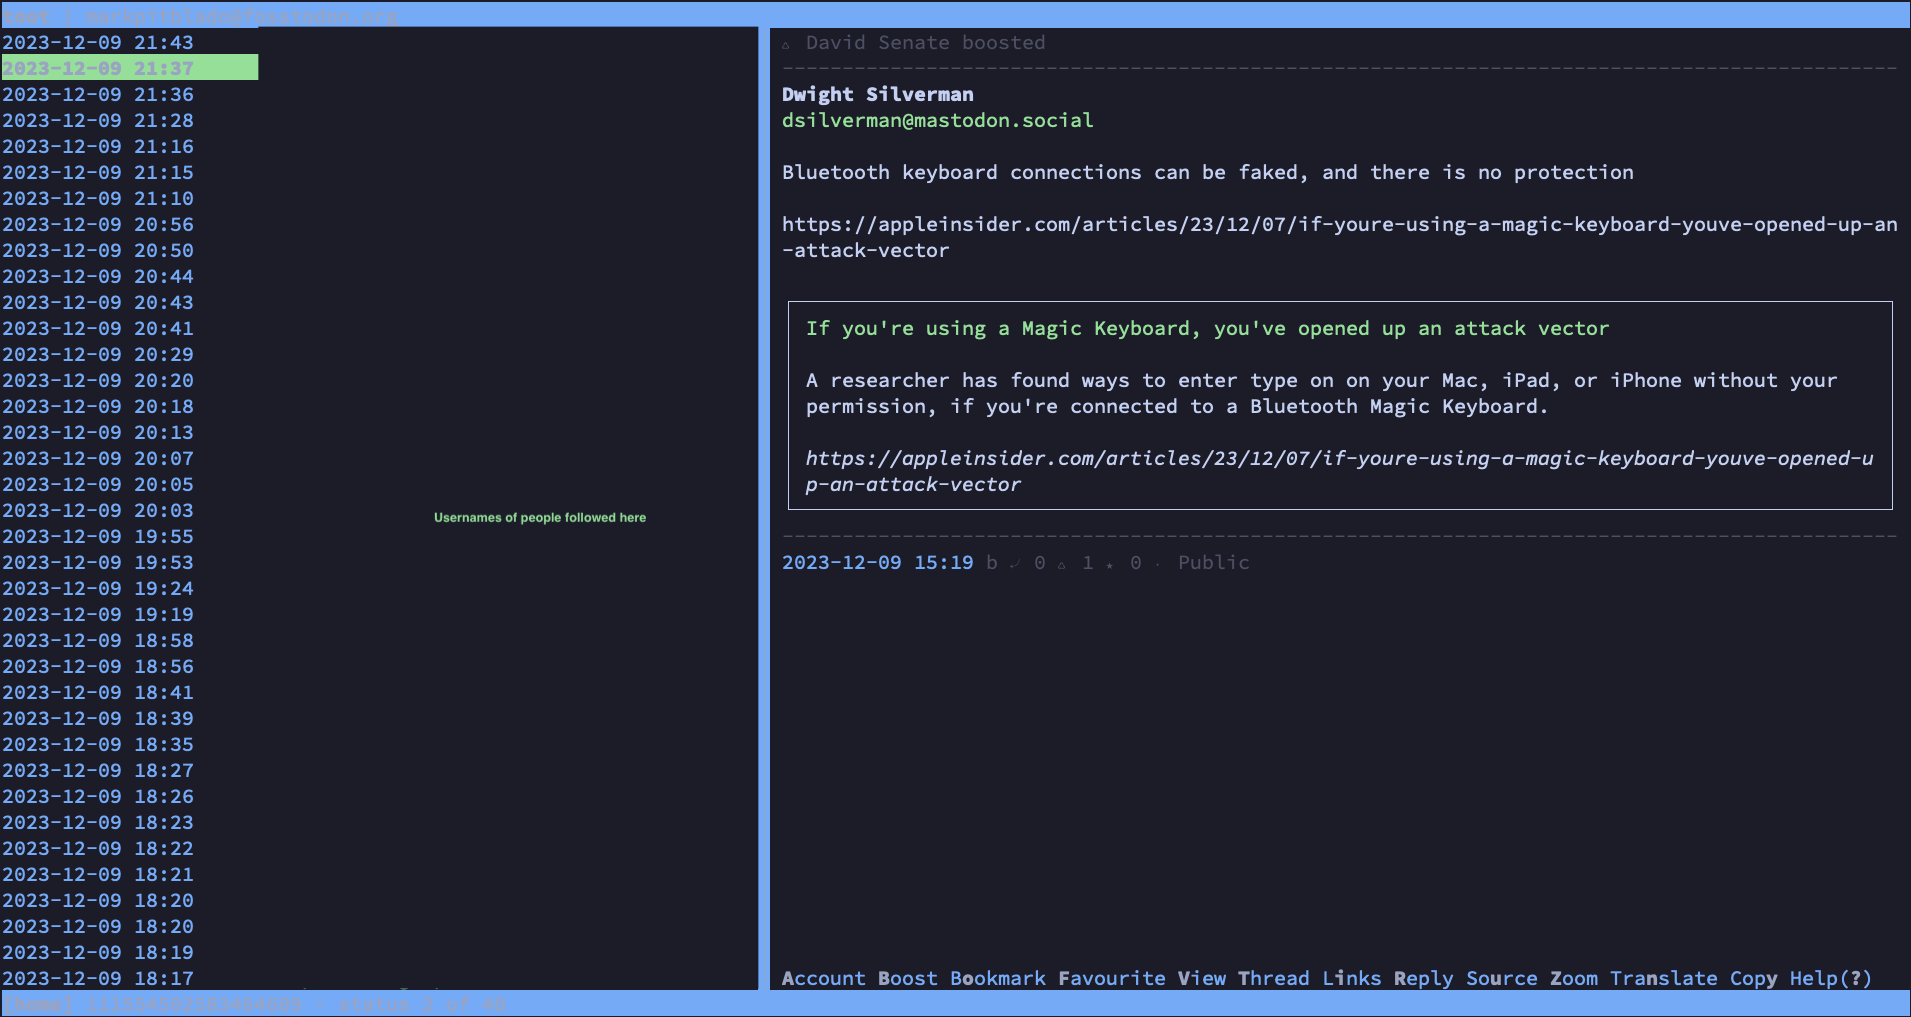
Viewing posts is simple, just use toot tui (tui stands for “terminal user interface”). The interface is actually very nice, and I enjoy it more than using the app or the web interface. It has everything that you need, and nothing that you don’t.
Writing and posting
To write something and post it to your account, simply use toot post "this is my post". It just works as expected!
Actions
All actions that you can do to respond to others’ posts, such as boosting, replying or favouriting, all have keyboard shortcuts that are conveniently laid out at the bottom of the interface for you. ‘B’ for bookmark, ‘F’ for favourite, ‘R’ to reply and so on and so forth.
Wrap up
This blog post may have seemed short, but it was also the first time that I tried out writing a post entirely in Lunarvim, and using a cdn for the images (so there was a bit more to it than just posting about the toot tool!). It also felt apt for a post about a no nonsense tool to be barebones without any fluff!
Header photo by Joaquín Rivero on Unsplash. Licensed under the Unsplash License